Order Blocks vs Fair Value Gaps — Which SMC Entry Model Wins?
Order block vs fair value gap: same displacement, different entry. We compare stop distance, R:R, win rate and — the part everyone forgets — fill rate.
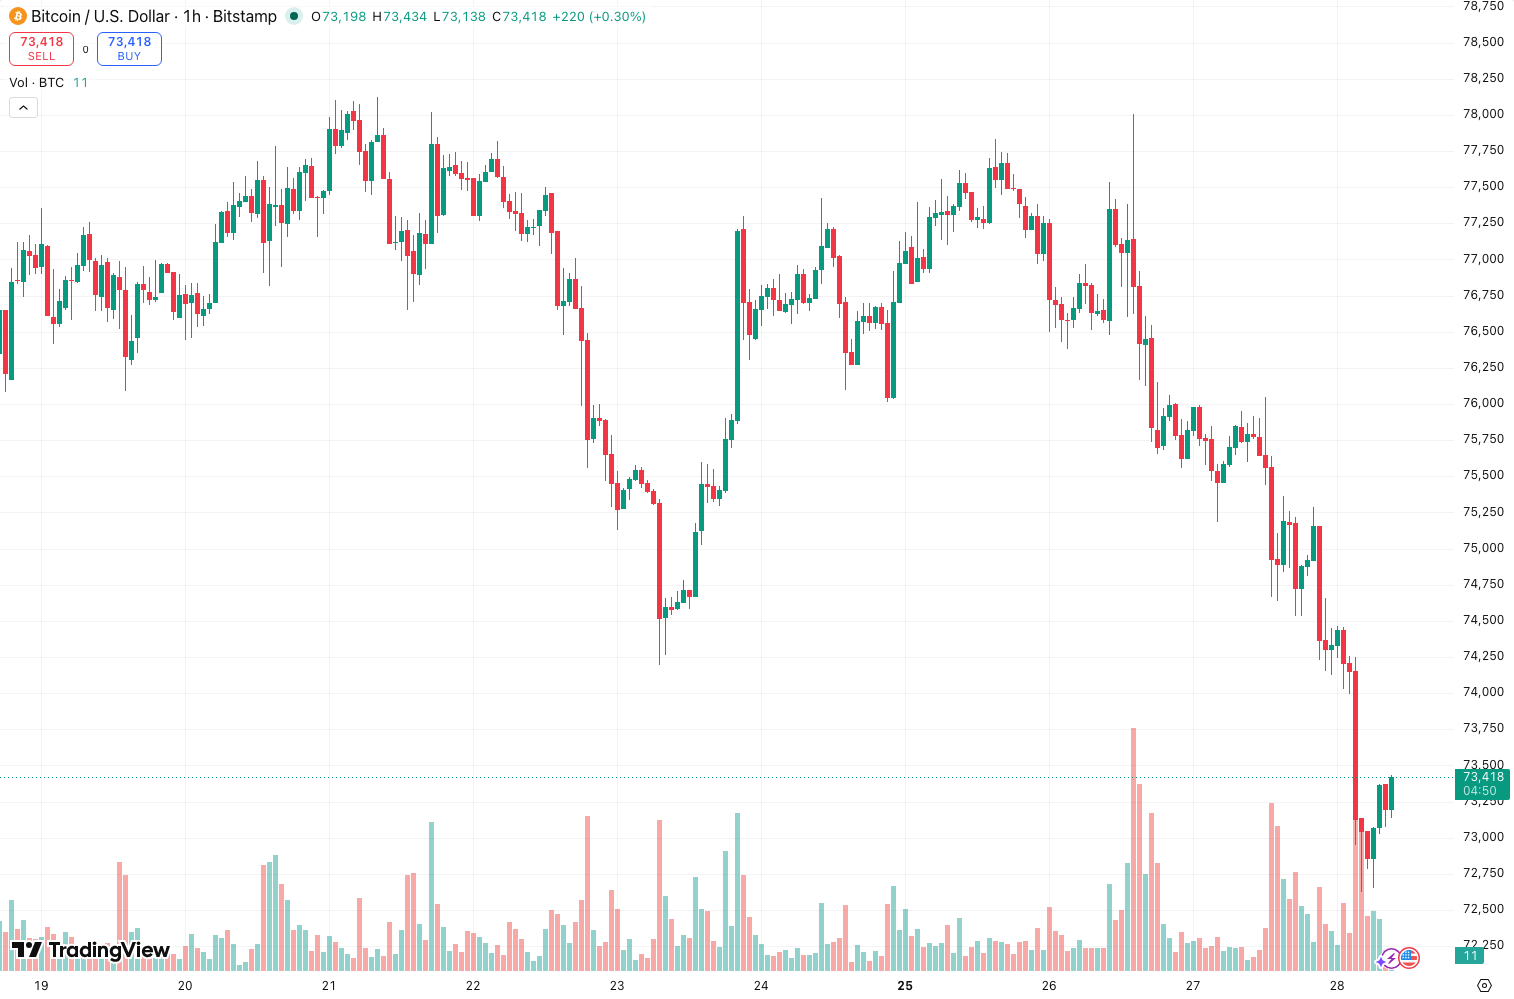
Every “order block vs fair value gap” article shows you the same two pictures: a green box and a grey rectangle. Then it tells you to trade both. That’s not an answer.
Here’s the answer: same instrument, same move — the FVG gives better R:R and a worse win rate. The order block gives the reverse. Neither wins outright, because the variable that decides your P&L isn’t on either list: how often you get a fill at all.
Two Zones, One Origin
Both come from the same event: displacement. Price moves hard enough to leave a footprint.
- An order block is the last opposing candle before that displacement — the origin, where the position was built.
- A fair value gap is the imbalance inside the displacement: three candles where candle one’s high doesn’t overlap candle three’s low. It’s the scar.
The OB sits at the start of the move. The FVG sits partway through it. That single fact drives everything below.

The Same Move, Measured
Take a bullish leg on a 15-minute chart. The order block sits below the whole leg; the fair value gap sits roughly a third of the way up. Price retraces.
Waiting for the OB means waiting for a deep pullback — often to the 50% of the zone. Stop below the zone low, so risk is the full zone height plus a buffer. If price only retraces to the FVG and leaves, you never got a trade.
The FVG gets you in earlier: entry at the gap midpoint, stop under the gap low. The gap is narrow, so the stop is tight. Target is identical — prior swing high or the next liquidity pool.
Same target, much smaller risk. That’s the entire R:R gap.
R:R, Honestly
| Order Block entry | FVG entry | |
|---|---|---|
| Entry point | Deep in the retracement | Shallow, mid-leg |
| Stop distance | Zone height + buffer | Gap height + buffer |
| Typical R:R to prior swing | 2R–3R | 4R–6R |
| Fill frequency on a given leg | Lower | Higher |
| Stop-outs from wick noise | Fewer | More |
Those are mechanics, not promises. The FVG’s R:R looks better on paper because the stop is tighter — and that tightness is exactly what kills it.
Why the Tighter Stop Loses More Often
A stop under a narrow FVG sits mid-retracement, where liquidity rests. Wicks hunt it. You take -1R, then watch price run to your target without you.
An order block stop sits outside the origin. To stop you out, price must invalidate the structure that created the move — a much higher bar. Fewer stop-outs, higher win rate, but a wider stop and a smaller R multiple.
This is the trade-off nobody states plainly: you are not choosing a better zone. You are choosing which way you want to be wrong.
The Missing Variable: Fill Rate
Per-trade stats lie because they ignore selection. An OB setup that wins 60% but triggers on one in four valid legs has a thin edge per opportunity. An FVG setup that wins 45% but triggers on three in four produces more trades and more total R.
Track three numbers, not two: win rate, average R per winner versus average loss, and how many valid legs actually gave you an entry. Most traders never record the third, then wonder why a great-R:R strategy made no money. It never filled.
Where Each One Actually Wins
- Use the FVG in strong trends with clean displacement on higher timeframes. Momentum doesn’t retrace deep, so waiting for the OB means missing the move entirely. Accept the wick risk; size for it.
- Use the order block in ranges and at swing extremes, or when you need a wider stop to survive noise. It gives a clean invalidation level, which makes sizing honest.
- Use both when they overlap — an FVG nested inside an order block is the highest-quality version of this setup, because origin and imbalance agree.
Two refinements: a mitigation block is an order block already tapped once — the second visit carries different odds. A breaker block is an order block that failed and flipped.
Bottom Line
Fair value gaps give better R:R and worse win rate. Order blocks give the reverse. Measure only wins and losses and you’ll pick the FVG and get wicked out; measure only R:R and you’ll pick the OB and sit unfilled for a week.
Choose by market condition: FVG for momentum, OB for structure, both overlapping for the best odds. And log your fill rate — it decides whether an entry model is worth trading at all.
Related reads: Order Blocks review · Fair Value Gap review · Mitigation Blocks review · Breaker Blocks review
One zone on one chart is an opinion. Six timeframes agreeing is a signal. The Lab Report scans 123 indicators across 20 markets every 15 minutes and sends a single call, and Lab Edge adds weekly 166-market signal sets. Try the Lab Report →
All screenshots from TradingView. Running SMC zones alongside structure and volume needs a plan with room for multiple indicators per chart: compare TradingView plans here.
🔬 Go Deeper Than One Indicator
Enjoyed this comparison? Get real-time consensus from 123 indicators across 20 markets — every 15 minutes, right to your phone.
7-day free trial · Cancel anytime · Affiliate link